Snippet - Import a CSV to an Existing Table
In this guide, we'll walk through how to create a function in Xano that allows you to import CSV data into an existing table. This can be incredibly useful if you need to add records to your database manually or if you want to provide a way for users to upload CSV files and have the data added to your application's database.
Step 1: Upload the CSV File
The first step is to allow the user or the application to upload a CSV file. In our example function, we're using a simple input to accept the CSV file:
Step 2: Create Metadata for the File
Next, we create metadata for the uploaded file so that we can reference it throughout the function stack:
This step is crucial as it allows us to work with the file data in subsequent steps.
Step 3: Extract the Raw CSV Data
After creating the metadata, we need to extract the raw CSV data from the file using the `Get File Resource Data` function:
This step stores the raw CSV data in a variable called `CSV File`.
Step 4: Decode the CSV Data
The raw CSV data can be a bit messy to work with, so we'll use the `CSV Decode` filter to make it more organized:
This step takes the raw CSV data and decodes it into an array of arrays, with each sub-array representing a row in the CSV file.
Step 5: Separate the Header Row (Keys)
Next, we need to separate the header row (the keys or column names) from the actual data rows. We'll create two new variables: `keys` and `values`.
The `keys` variable stores the first row of the CSV data (the header row), while the `values` variable stores the remaining rows (the data rows) after removing the first row.
Step 6: Loop Through the Data Rows
Now that we have the keys and values separated, we can loop through each data row and add it to our existing table using the `Add Record` function.
Here's what's happening:
- We use a `For Each` loop to iterate through each data row stored in the `values` variable.
- Inside the loop, we create a new variable called `object` that combines the `keys` (column names) and the current `item` (data row) using the `Create Object With` filter. This step essentially creates a JSON object that the `Add Record` function can understand.
- Finally, we use the `Add Record` function to add the current `object` (data row) to the specified table in our Xano database.
Step 7: Test and Verify
After running the function with a CSV file, you can verify that the records were successfully added to your table by checking the database preview in the Xano dashboard.
Conclusion
By following these steps, you've learned how to create a function in Xano that allows you to import CSV data into an existing table. This can be a powerful tool for adding data to your application's database, whether it's for manual data entry or providing a user-friendly way for your users to upload and import their own data.
Remember, this function can be further customized to fit your specific needs, such as adding validation or error handling. Additionally, Xano provides a way to access this function as a snippet, making it even easier to implement in your own workspace.
This transcript was AI generated to allow users to quickly answer technical questions about Xano.
I found it helpful
I need more support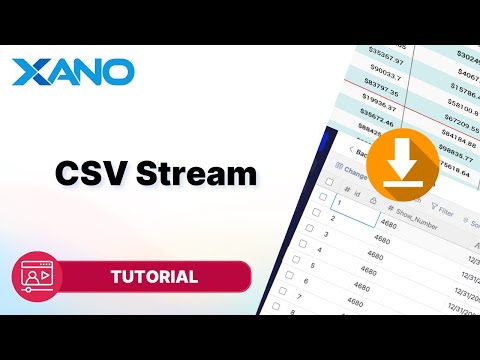


Build without limits on a secure, scalable backend.
Unblock your team's progress and create a backend that will scale for free.
Start building for free
©2025 Xano. All Rights Reserved.


