How to display data from an external API endpoint in Webflow
By Xano | January 31, 2021
Webflow is an amazing tool for creating responsive websites without code. That said, they currently don’t make it easy to work with data from third-party or external API endpoint. Luckily, with a little Javascript in your Webflow page settings, this can be achieved. Shout out to Gautman Lakum for setting the foundation for this tutorial with his work.
How it works
The Webflow designer doesn’t have an easy way to call an API, so you’ll need to setup an area on your page where you want the API results to be injected. You can do this by creating a few elements with specific ID and class names that Javascript will use to inject content into. Once the Javascript snippet is installed, the API will be called when the page loads, and the Javascript code will tell Webflow all the areas to place content into.
There are three examples in the Webflow example site
- Get API data and list it in Webflow
- Click on an item in the list and see the individual page for that item
- Filter API data list by category
We are going to cover #1 – Get API data and list it in Webflow in this blog.
Step by step tutorial
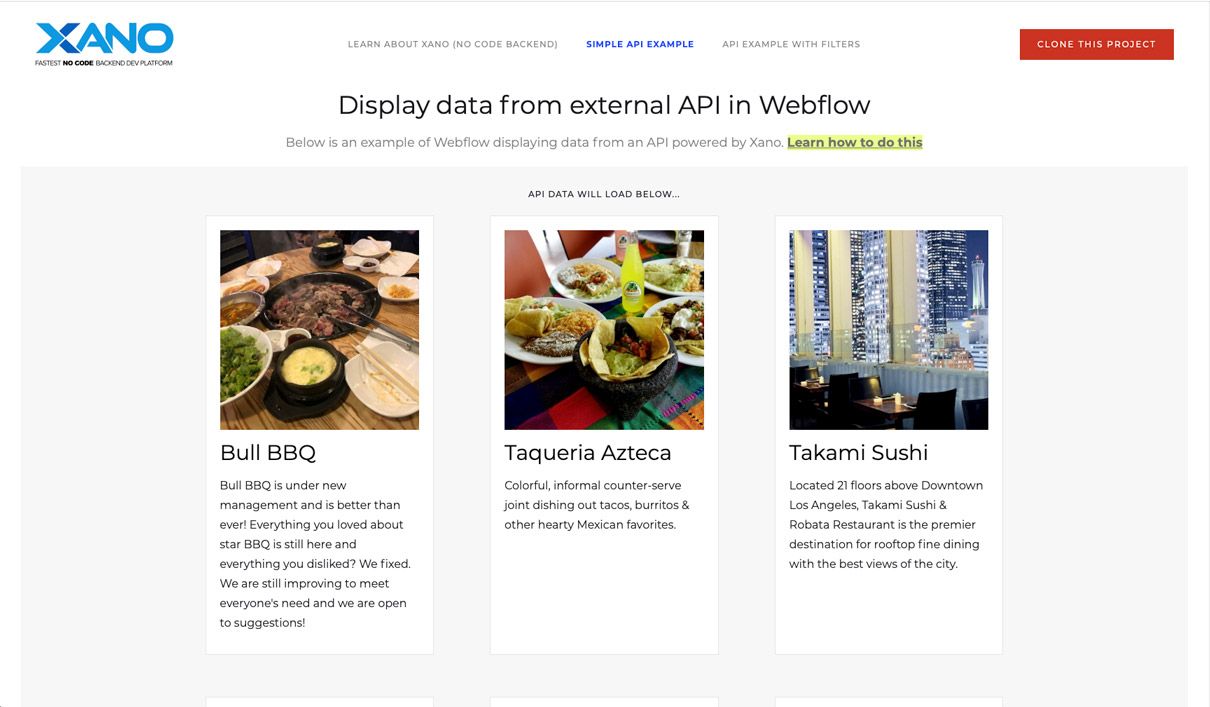
In this example, we’ll send a list of restaurants to Webflow from an API endpoint hosted by Xano (No code backend). So, for each restaurant, we’ll create a card that displays the name and description and when you click on the card, it takes you to a page with more detail.
- STEP 1 In Webflow, create a page and select an Element (like a Div) that you would like to have your API endpoint results listed into. So, in this example, we’ll create a Grid that the restaurant cards will live in.
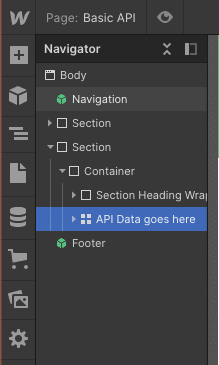
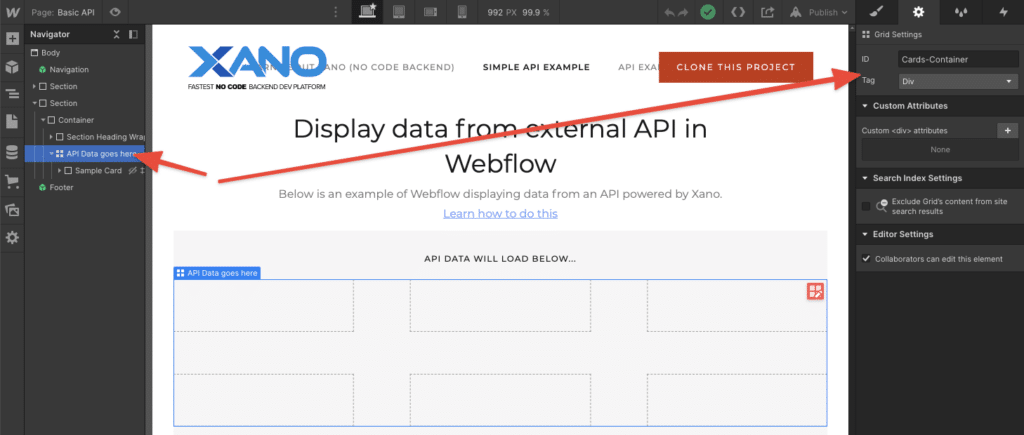
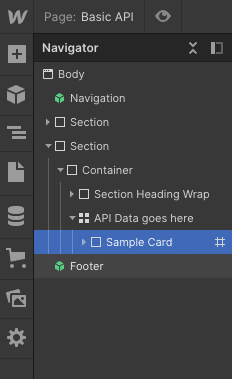
- STEP 2 Assign that element an ID so Javascript knows how to identify it on the page. You can call the elements anything you want, but for this example, we’ll assign the Grid an ID called Cards-Container.
- STEP 3 Inside the Cards-Container Grid, we’ll create another Div and add a class to it called Sample Card.
- STEP 4 In the Sample Card Div, add an Image, Heading (H3) and Paragraph element (P). You can style it the way you want. You’ll also want to add the ID samplestyle to it. This will be the example card that we’ll use to load the API endpoint results into.
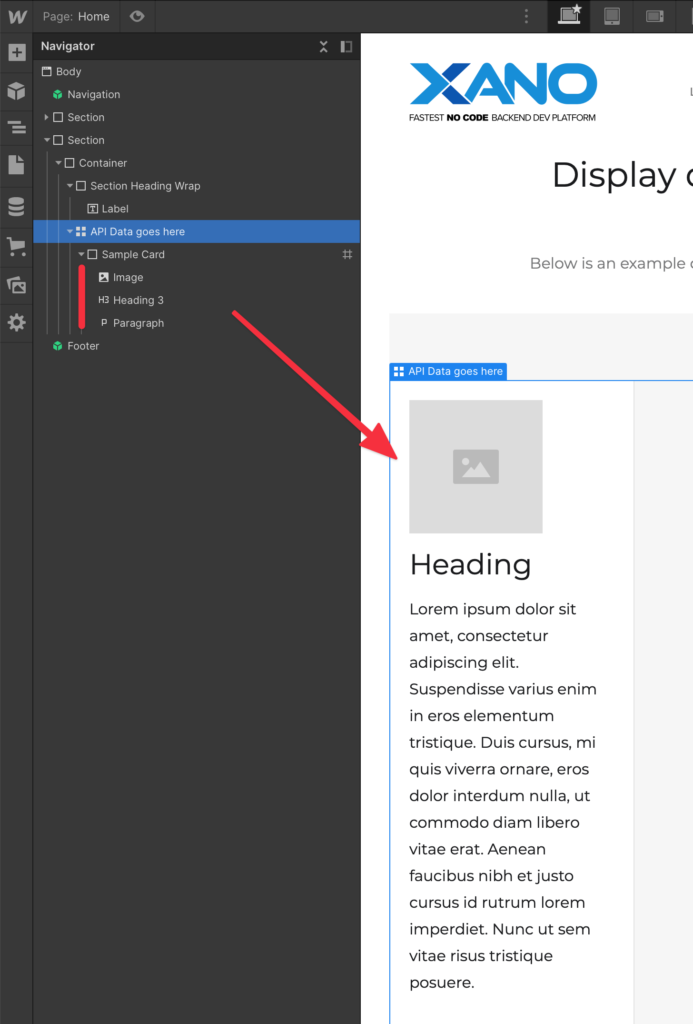
- STEP 5 After you’re done styling add a Hide class to the Sample Card Div and set the display to hidden. Because we don’t want the sample card to always show up on the page, we just want to use it style how the cards that our Javascript will generate from the API endpoint will look.

- With your Sample card in place and hidden in the Webflow designer, it’s time to add the Javascript to your page settings!
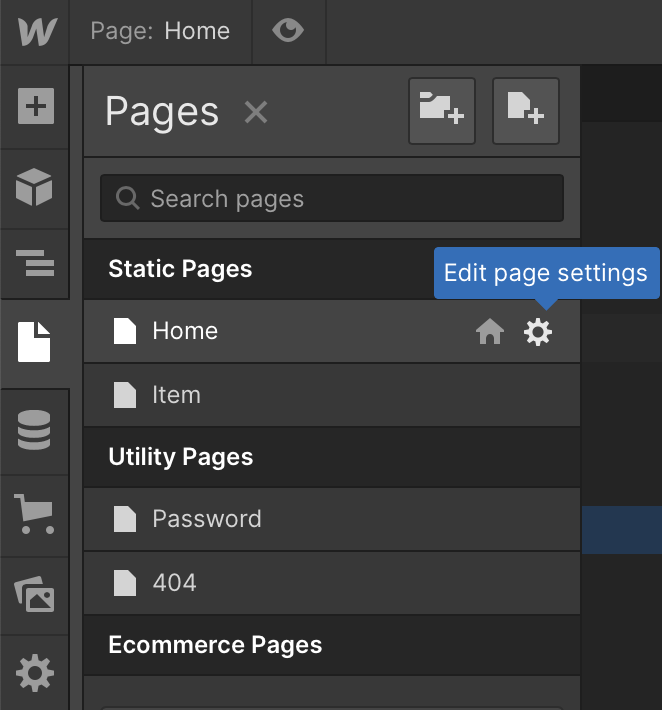
- STEP 6 Click on your Page settings and scroll to the Custom code section Before </body> tag.
NOTE: You’ll need a paid Webflow account to enable this section.
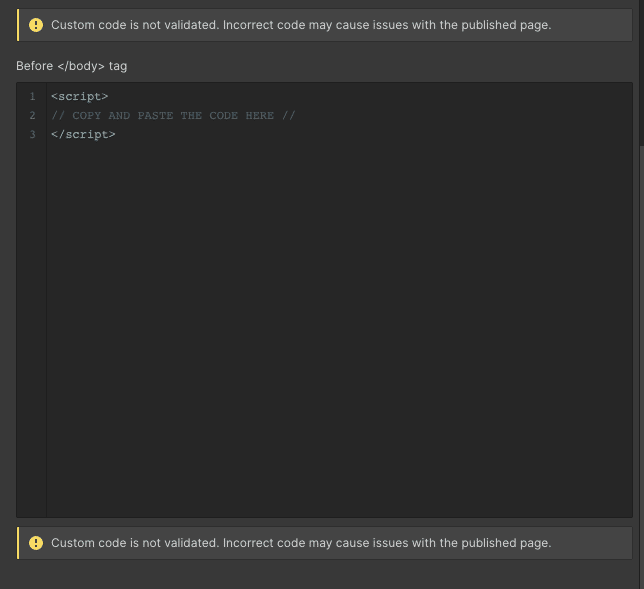
- STEP 7 So now you can copy the Javascript code contained in the Github link below into the Before </body> tag section. With this, Javascript tells Webflow how to inject the data from an API endpoint you give onto the page, and I walk through the Javascript in the video above in case you’d like to learn how it works.
Gitlab link to Javascript code
NOTE: Make sure the code sits in between the <script> </script> tag.
<script>

// copy and paste code from above in between these two tags. If // the <script> and </script> doesn't exist, create it

</script>- That’s it! So now you can save the page and publish. If you’ve done everything properly, you should see a preview of data being listed in cards below.
Clone this projects